Real Estate Photography in 2022
Real Estate Photography is a fantastic and rewarding skillset. It mixes creativity with technology to capture a property and turn it into a work of art. You take all the fun of photography with gear, lighting, and creative composition and you get to use it on a subject that sits there and looks pretty. You don’t need to direct the home, pose it, or guide it, you can just take your time and do your thing.
We at Sand and Stone Media feel that an artistic approach to the emotional story of the home is the best way to communicate the property’s value. See, professional real estate photography involves much more than just images of a house, it’s about the eye of the shooter and the ability to use camera settings, light, editing and storytelling to create an emotional connection.
In this guide, we’ll go over what you need to start shooting real estate photos. We’ll cover what gear you’ll need, how to use it, strategies and tactics while shooting as well as how to edit and deliver fantastic photos. We’ll cover good attitudes and perspectives to keep aware of and we’ll get into creative storytelling strategies for capturing the property’s uniqueness.
The Gear
Camera Body
Let’s be honest with ourselves; cell phone pictures just don’t substitute quality professional real estate photography done with gear specifically dedicated to the craft. Yes, the true talent is in the eye of the photographer, but having the right gear to capture it with is imperative. You’ll want to have a camera that can capture multiple images at once at different brightness levels using “Exposure Bracketing.” Those multiple pictures are then combined into a single, more balanced image that lightens the darks and darkens the lights. This is called “High Dynamic Range” or HDR. Most cameras out there can do this, but research the specific menu settings for your camera model.
We recommend using some of the new mirrorless cameras that have come out in recent years. (We use Sony at Sand and Stone Media.)
Camera Body Recommendations
|
Lenses
No Real Estate Photographer can get away with not using a wide lens. Find a lens that is between 14-18mm. Any wider and you’ll get a strange fish-eye effect. Any closer and you won’t be able to capture the interior spaces. You can get a “fixed focal-length” lens, but if you can afford a “variable zoom” lens, you’ll capture more angles and better details. |
Wide-Angle Lens Recommendations
Tripod
Since you’ll be taking a few pictures at the same time, you’ll want to have the camera steady on a tripod at all times. This will also help in a dark room because you can slow your shutter speed to let light in without any motion blur. A swivel-headed tripod that adjusts the angle is a requirement, so we recommend either of the following options.
Entry-Level: Benro Lightweight Tripod Commercial-Level: Manfrotto 290 Tripod
|
Aerial Photos
Drones have been one of the best ways to stick out as a real estate photographer, but are quickly becoming a basic requirement. If you plan on making money with your drone photos, you’ll need a Part 107 Commercial Drone License from the Federal Aviation Administration. Drone Recommendations Budget-Level: DJI Mini Entry-Level: DJI Mavic Air 2S Commercial-Level: DJI Inspire 2 |
Preparation and Mindset
Now that you have an idea of what gear you’ll need, let’s talk about having the right mindset when it comes to your property listing photos.
Know your Gear. Take the time to practice with your gear and understand the correct settings and how Shutter Speed, Aperture and ISO all work together to create a well-balanced shot..
Prepare. Look up the property on google maps beforehand. Find any older photos of it. Visualize a game plan and write out a shot list.
Seek the Light. Learn to see the light and plan a time of day to capture the home at its peak. Depending on where the home is facing, the light could be casting strange shadows or creating a glorious hero shot, but bear in mind the direction the home is facing and do your best to schedule accordingly.
Find the Story. You’re here to capture photos, but you’re also there to tell the home’s story by finding unique details and showing them off creatively.
Don’t Rush it. If you can schedule at least 1-2 hours to have the place to yourself, you’ll be able to take your time and give the home it’s due attention without stressing it. Eventually, you’ll want to find an efficient balance, but you should never sacrifice quality because you’re too rushed and missed something important.
Maintain Perspective. Remember that the reason you’re shooting this property is to create a work of art that communicates the emotion value through photographic storytelling. You want to show this place at its absolute best so treat it with care.
The Shoot
The very first thing you do when you get to the shoot is turn on all the lights and do a quick cleanup. Do NOT forget this step or you’ll kick yourself later.
Camera Settings
Since Real Estate Photography involves shooting high-contrast interiors that have bright views through windows, you’ll need to darken windows while lightening the interior room, so you’ll need to take 3-5 photos per room at different brightness levels. To do this, set your camera to “Bracket Mode,” select the number of images as well as the stops of light between images, then add a 2 second-timer so you don’t move the camera as you press the shutter button. Make sure your Exposure Meter is at “0” or that you have a balanced histogram.
Ideal camera settings are to dial your camera to Shutter Priority mode, keep your f-stop at around 4-5 and keep your ISO as low as possible.
Interiors
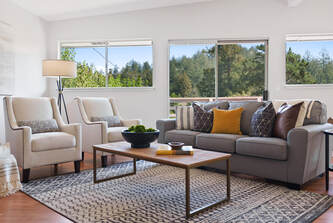
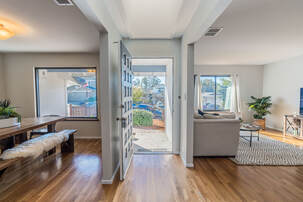
At the most basic level, each individual room should be photographed at a straight 90° from a corner with the camera 4-5 ft high on a tripod. The pictures should show the fullest or most interesting parts of the space. Get as much of the room as you can. You should take at least 2 pictures of each small room. More of each larger living space. Try to show at least 3 walls in each wide photo, then zoom in for details. Some rooms will be dark, so make use of your tripod and slooow the shutter speed down when necessary.
At the most basic level, each individual room should be photographed at a straight 90° from a corner with the camera 4-5 ft high on a tripod. The pictures should show the fullest or most interesting parts of the space. Get as much of the room as you can. You should take at least 2 pictures of each small room. More of each larger living space. Try to show at least 3 walls in each wide photo, then zoom in for details. Some rooms will be dark, so make use of your tripod and slooow the shutter speed down when necessary.
Exteriors
Ground-Level
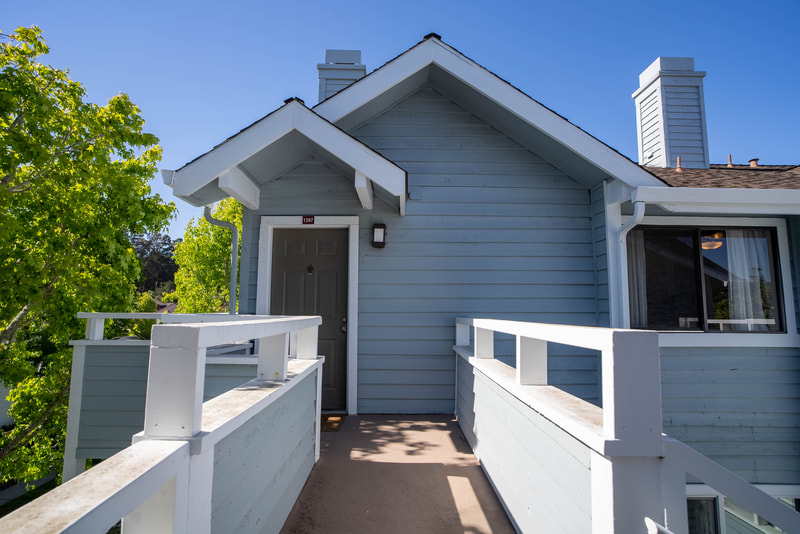
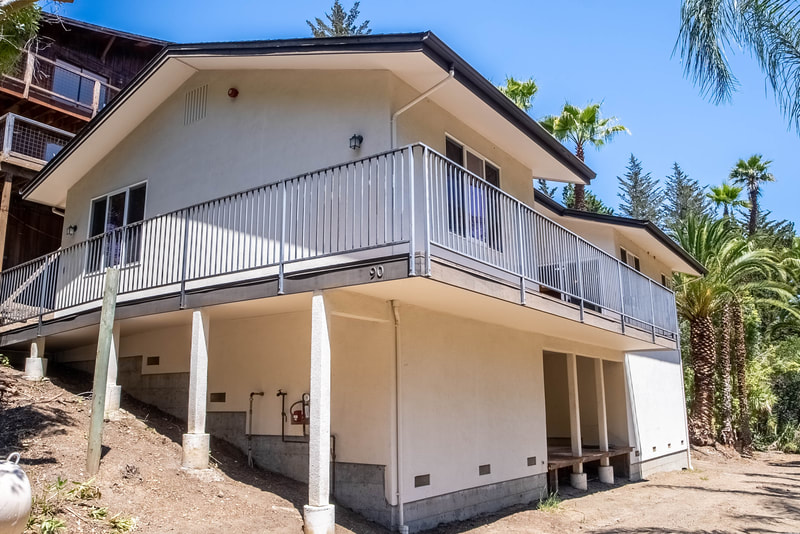
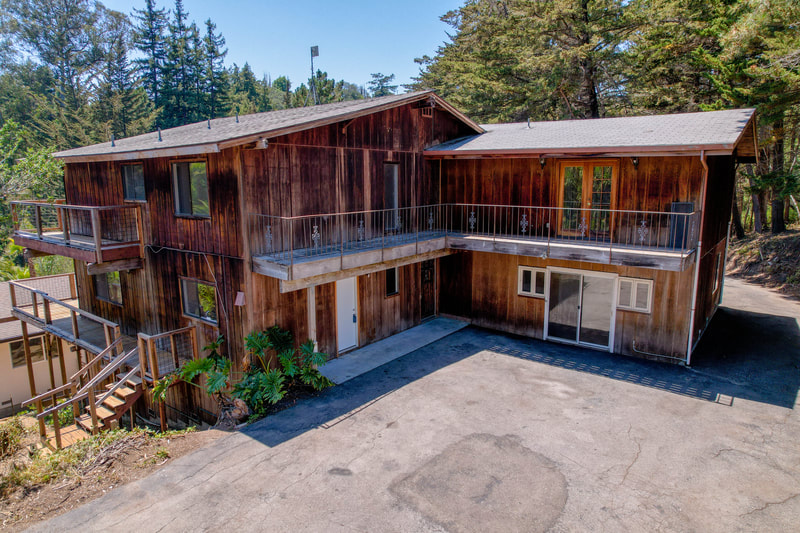
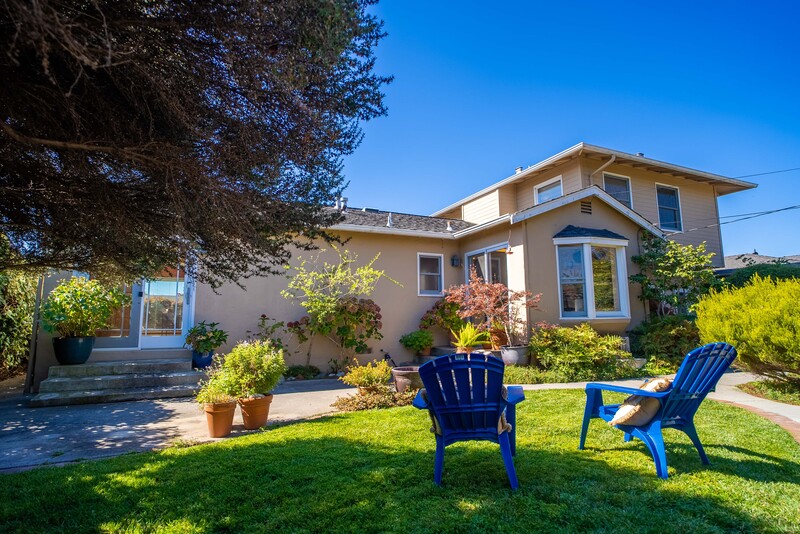
Follow the same bracketing exposure rules for exterior real estate photos. Camera at 4 ft, taking picture of the home straight on (although you may have to tilt up for taller homes.) Capture the “Hero Shot” which is the property’s main marketing image by finding the best looking angle of the home and front yard and shooting wide. Pictures at sunset are tricky but can look fantastic if done correctly.
Aerial Photos
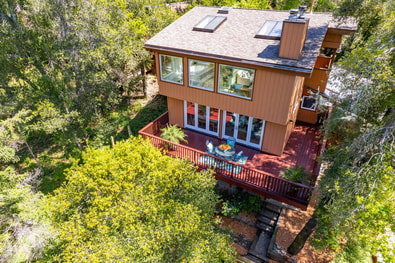
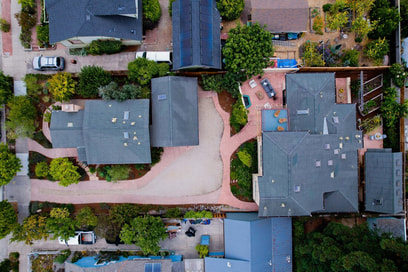
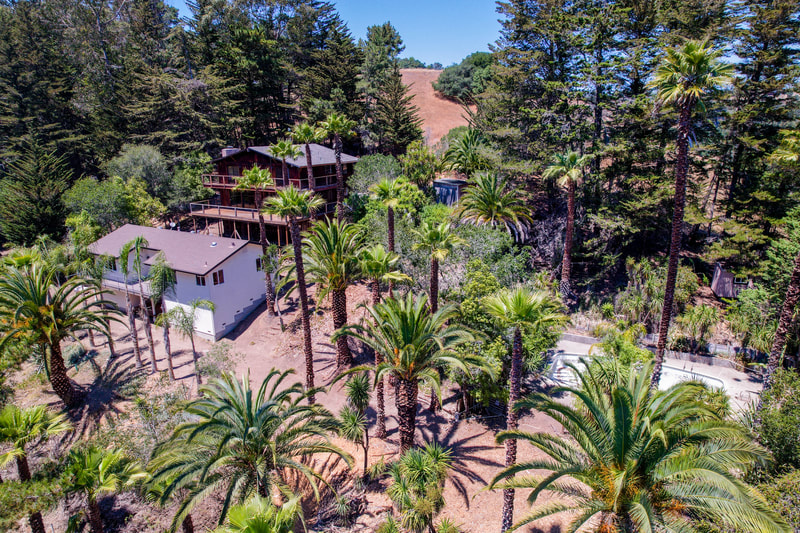
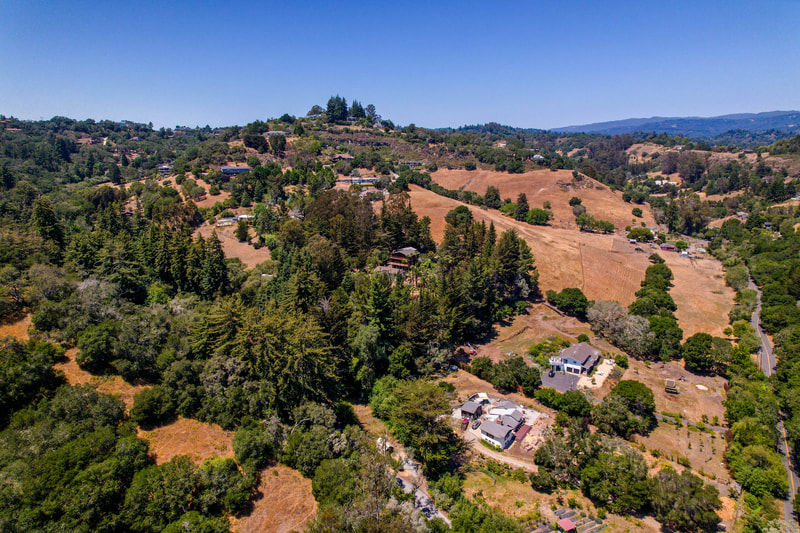
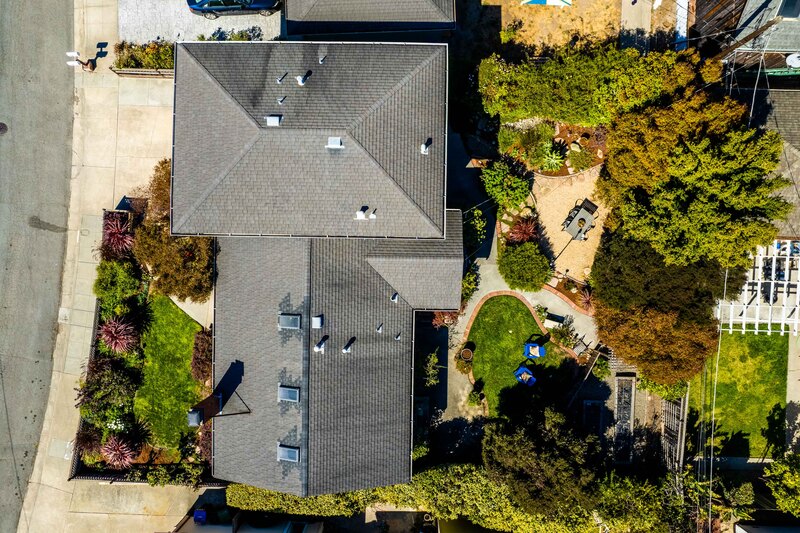
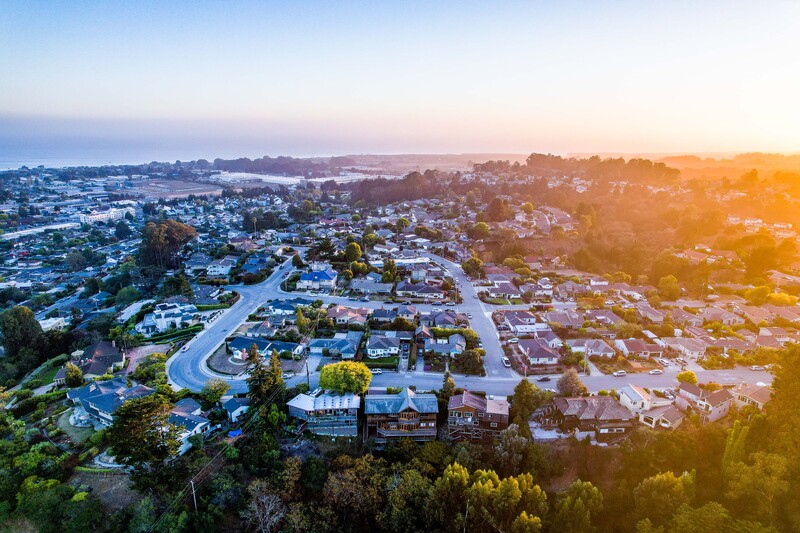
Most drones also use Exposure Bracketing, usually labeled as “AEB” in your settings. Follow the same rules and take multiple photos from the air. Do your best to not get neighboring properties in the frame while still capturing the full yard and lot. Fly outwards to get a view of the neighborhood in context. You can add location tags as labels to different points of interest near the property during the editing process and it adds a level of luxury to the listing.
Most drones also use Exposure Bracketing, usually labeled as “AEB” in your settings. Follow the same rules and take multiple photos from the air. Do your best to not get neighboring properties in the frame while still capturing the full yard and lot. Fly outwards to get a view of the neighborhood in context. You can add location tags as labels to different points of interest near the property during the editing process and it adds a level of luxury to the listing.
Once you’ve taken all your photos and made sure you haven’t missed anything, check again. Then again. There’s nothing worse than getting home and realizing you forgot to shoot something.
The Edit Bay
To create a final edit for your photos, we recommend using the Adobe Creative Suite. We’ll be using Lightroom and Photoshop for these photos.
Merging your Photos
Step 1. Import your photos into Lightroom
Step 2. Select all your images, then right click and highlight “Stacking,” then “Auto-stack by capture time.” Usually 3 seconds between capture time does the trick but you may need to adjust until you have 0 unstacked images (unless you accidentally took some non-bracketed photos, then those will show up as unstacked.)
Step 3. Select all of your stacked images and right click on them and highlight “Photo Merge” then select “HDR.” Lightroom will now merge all of these images into a single image with more balanced lighting.

These 3 images were taken at 3 different exposures. After merging them and making some minor edits, you get the following result.
Editing your Photos.
Once you’ve created your HDR images, sort them by “added order” so they show up all together at the end of your timeline, then select them all, right click on them and “Add to your Quick Collection.” Now you have more freedom to move them around and edit without the original images in your way.
Open the Develop Tab in Lightroom.
Follow a process of darkening the highlights and lightening the shadows while bumping up the contrast a little bit and adjusting the exposure to the upper third of the histogram. Scroll down to “Lens Corrections” and click on “Enable Profile Corrections.” That will get rid of any lens distortions that wide-angle lenses tend to give your image. Also select the “Crop Overlay” tab and auto adjust each image to make sure they’re exactly straight because tripods still aren’t perfect.
You can create a preset or copy settings to all your photos at once, but be sure to go through each one to touch up details. Use the spot healing brush to hide cords or telephone wires and the masking tool to bring down still-exposed sections. You can also use masking to turn down the saturation on any overtly orange artificial lighting.
You can also open the image in Photoshop to do a Sky Replacement and add sunset photos, but keep it subtle and not too distracting.
Don’t over-edit your images, but try your best to make them balanced without losing quality. It’s a good idea to use the histogram to keep track of your exposure levels throughout this process.
Aerial Images
Watch for color differences between cameras and try to adjust your drone footage to match the photos. You can open the photos in Photoshop to create labels for each different point of interest and create a map of the neighborhood showing context.
Exporting
When you’ve finished editing your images and have at least 1 clean photo of each room, a “Hero Shot” and other exterior photos, we suggest rearranging them so that it feels like a walkthrough of the home. Once you’ve put them in order, select all your images and click “File,” and “Export.”
Ideal export settings for Real Estate Photos that will be published online are as follows:
Export to: (Choose your Folder)
Rename to: (Choose your Custom Text)
File Settings: JPEG
Color Space: sRGB
Limit File Size to: 1500 k
Resize to Fit: Width and Height
Resolution: 100 pixels/ sq inch
Click Export.
Delivery
Delivering Real Estate Photographs to your client should be relatively easy in today’s world. There are many services like Dropbox, GoogleDrive, WeTransfer and Aryeo that you can upload your photos to and send them as a link to your client for download. Photos don’t take up too much space and you are more than likely not sending even a hundred photos unless you’re doing an exceptionally large property. Once you’ve sent off the photos, there’s a possibility that the realtor or homeowner will request a change or edit. That’s fine, your paying clients have a vision that you’re trying to collaborate on, so give them the benefit of the doubt.
Conclusion
Real Estate Photography is a fun and rewarding trade that comes with plenty of tools to help you get started. It requires knowledge of the camera equipment, but also an eye for composition and an attitude of creativity and preservation of emotion. There are many approaches you can take in capturing properties, but because you read this guide, you’re already ahead of many people who pick up a camera and just try it out themselves.
On starting out and finding clients.
If you haven’t shot your first listing yet, no problem! You’ll need to practice on your own place or maybe friends and family. Likewise you could reach out to a local agency and ask if they have any listings that you can photography for free until you get confident enough to charge. Don’t get discouraged if things don’t just start happening right away. Trust the universe and put in the work and you’ll slowly start seeing results. Good luck out there kid!
Santa Cruz, california Real Estate photography and videography. AirBnb photgraphy. About us video. Property walkthrough in Big Sur. Luxury photography Santa Cruz. Luxury real estate videography in Santa Crus. Luxury real estate. Multimillion dollar homes in Santa Cruz videography. 3D Walkthrough, Ranch videography in Santa Cruz. Monterey California, Carmel luxury homes. Luxury videography for Monterey Real Estate. Ranch real estate video. Ranch property videos. Multimillion dollar property videos in Santa Cruz. Capitola, CA. REal estate listings in Santa Crus, California. Drone and aerial images in Aptos. Aerial imagery Santa Cruz. Drone photography and videography in the Bay Area. Bay Area real estate photographer. Drone photography. Drone videography in the Bay Area. Real estate luxury photographer seeking real estate drone video for photo and video use. Venue photographer. Airbnb photography.
